How Can We Help?
Adding a Domain to your Control Panel
There are many ways to add a domain to your account but this is the most direct route.
This guide covers how to add a domain to your Control Panel.
This guide requires you to have already purchased a “Domain Name” and to have pointed your “Name-Servers” or “DNS Records” to our Server.
We have a separate guide on “Name-Servers” here.
Firstly you need to login to your Control Panel.
A separate guide for this can be found here.
Once Logged in you need to navigate to “Domains” > “Domains”

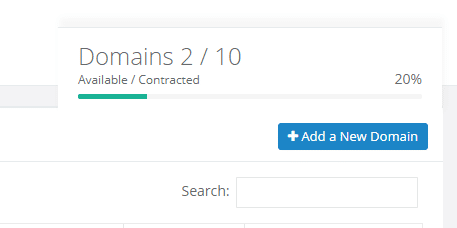
Then Click “Add a New Domain”

Next Type your Domain Name.
If you do not know what Path to choose or did not create one earlier leave the Path as the default set by the Control Panel.
Next you can tick “Add SSL certificate” if you require your domain to have a SSL Certificate.
NOTE: Only Tick this box if you have already pointed your DNS to our Server or this will fail and cause issues later when installing your website or app.

Click “Save” and your domain is now added successfully, if you selected Add SSL Certificate this will be generated automatically at midnight.
NOTE: Now your domain is setup your website/app can be uploaded to the directory created above, in this case in your home directory you will upload your website/app to /newdomain.com
